Ollama for AMD Integrated GPUs in Windows
Affiliate links in this guide help support this documentation at no extra cost to you.
The exact Mini-PC used in this guide is a GMKTec M7 with an AMD Ryzen 7 PRO 6850H with a Radeon 680M . The guide should work with other integrated GPUs such as the 780M and 890M with slightly modifications.
Overview
If you try and run Ollama with an integrated GPU most likely it will run on the CPU only. It seems some AMD GPUs are supported, but many are not. If you are having issues getting your AMD GPU to work with Ollama you can build a custom version with the latest HIP SDK to enable GPU with Ollama.
What you’ll need:
- A system with AMD Radeon graphics
- Windows 10/11 (Linux it appears has a much easier time)
- At least 16GB of system RAM (more is better for larger models)
- ~20GB of free storage space for Ollama and models
The following are some required guidelines to keep in mind from the start.
CRITICAL SETUP REQUIREMENTS
This guide will result in a custom Ollama build.
- DO NOT update Ollama if prompted You must rebuild for the latest updates.
- Install all the necessary tools The commands will fail without them.
- Follow each step closely You must perform each step exactly, including editing JSON and TXT files
Not following the above will result in a painful experience. Trust me.
Install Go
Navigate to the Go download page and download the latest version of Go.

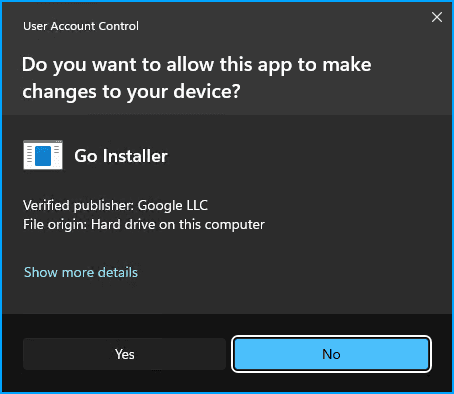
Once the installer loads, click “Next” to begin. Then click “Next” to accept the EULA. Accept the defaults and then allow the app to make changes.
The installer will complete and then close. No further action is needed.
Install MinGW
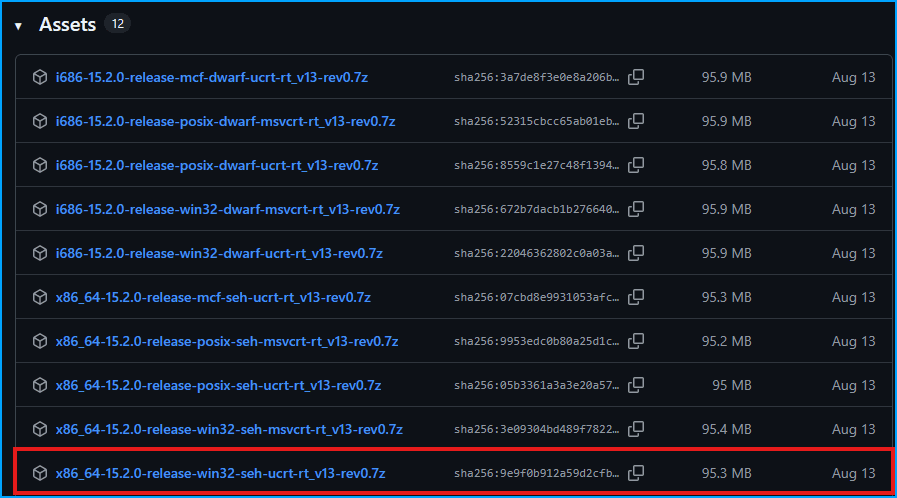
Navigate to the MinGW releases page . Select the one similar to x86_64-15.2.0-release-win32-seh-ucrt-rt_v13-rev0.7z.
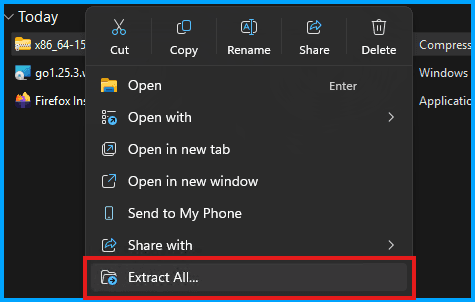
Now open up the downloads folder and extract the archive.
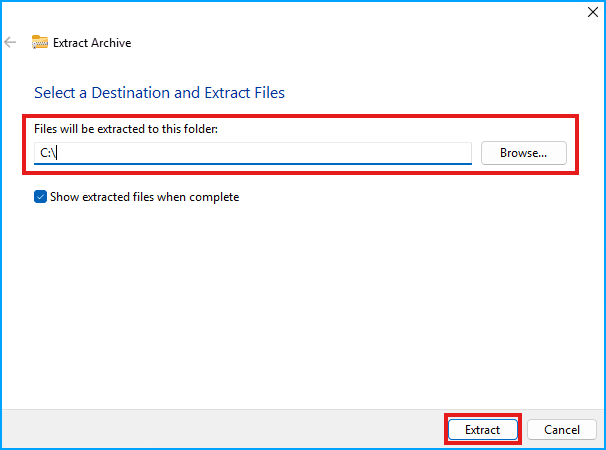
Update the extract folder to C:\. Then click “Extract”. It can take some time to extract.
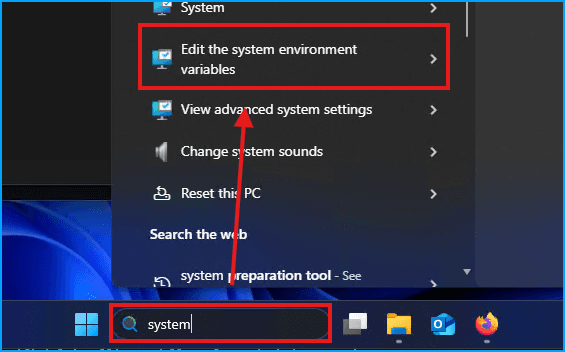
Add C:\mingw64\bin to your path by searching for “system” in the Windows search bar and selecting the “Edit the system environment variables” item.
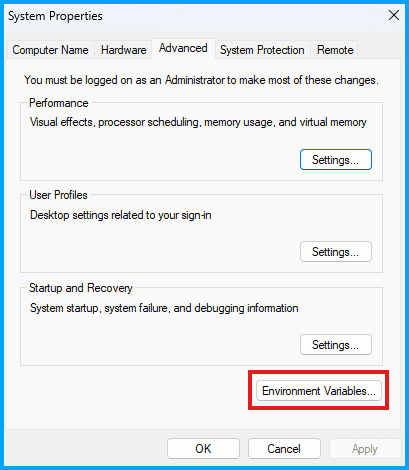
Then click the “Environment Variables…” button.
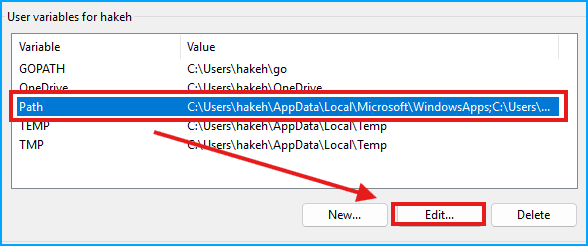
Then select the “Path” Variable in the top section, and then click the “Edit” button.
Then click “New” and paste in:
C:\mingw64\binAnd click “OK” to save.
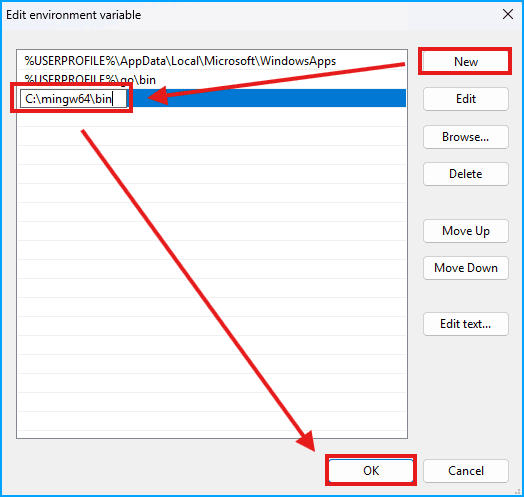
Now click “OK” to close the Environment Variable windows that were just opened. MinGW is now ready.
Install Adrenaline Drivers
This step can be skipped if you already have the latest drivers
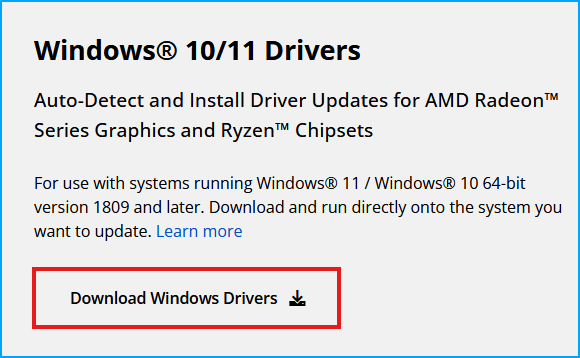
Navigate to the Adrenaline Drivers download page and click “Download Windows Drivers”
Run the installer and allow the app to make changes
Accept the defaults and proceed

Let the installer complete, click “Close”, and then proceed to the next step.
Install Git
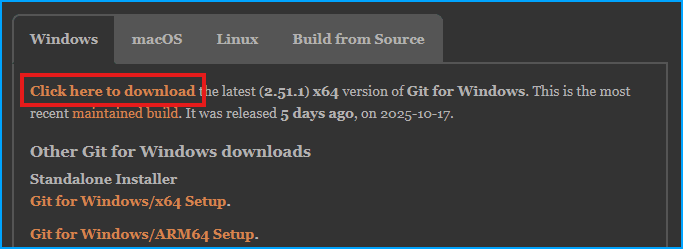
Navigate to the git-scm download page and click “Click here to download”.
As usual, select “Yes” to allow the app to make changes. Then leave all the defaults and click “Next” through the entire installation and then click “Finish”.
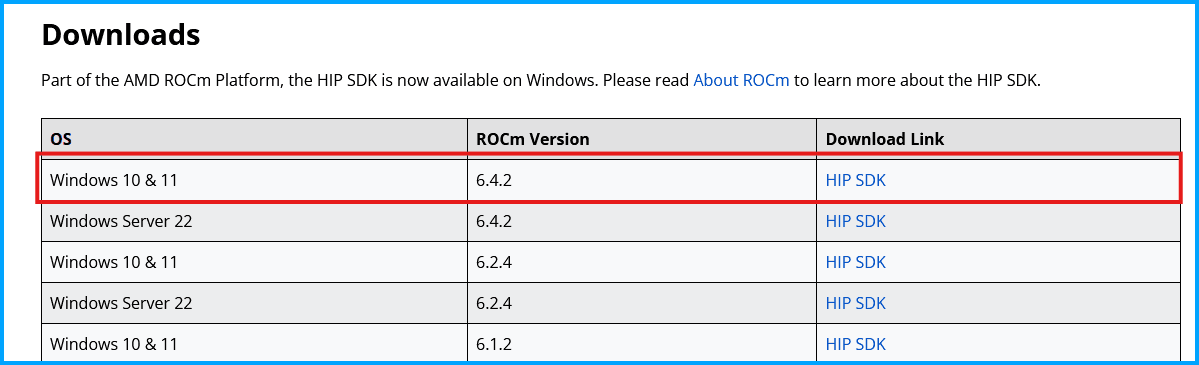
Install HIP 6.4.2 SDK
Navigate to the HIP SDK download page and download the 6.4.2 ROCm Version.
Accept the terms.
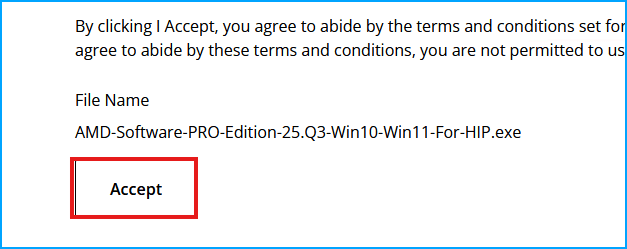
Start the install and allow the app to make changes to the device. Then keep the defaults and proceed.
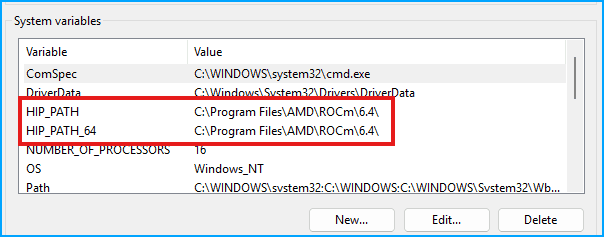
Validate and set HIP PATHs
Search for “system” again in the Windows search bar to edit the enviroment variables. Then confirm the two HIP variables are present.
Now add HIP to the PATH similar to with MinGW.
C:\Program Files\AMD\ROCm\6.4\bin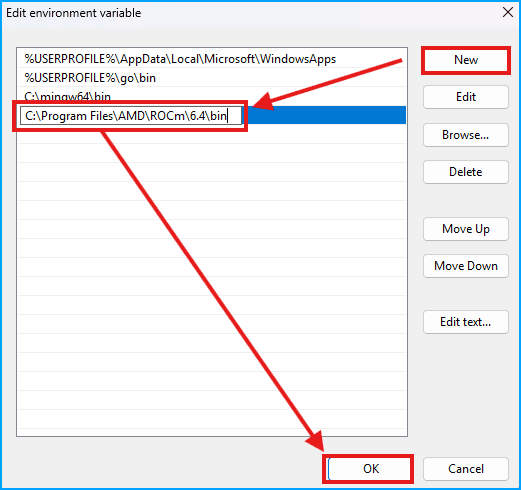
Replace ROCm Library Files
This only needs to be done if your GPU is considered “unsupported” such as 680M and 780M. The 890M should work without this step, proceed to “Install Build Tools”
Navigate to the ROCmLib repo and download libs for your gfx code. If you are not sure, check out the AMD-GPU-Codenames wiki .
You can also search your GPU on tech power up to get the gfx number
For the 680M I will get the gfx1035.
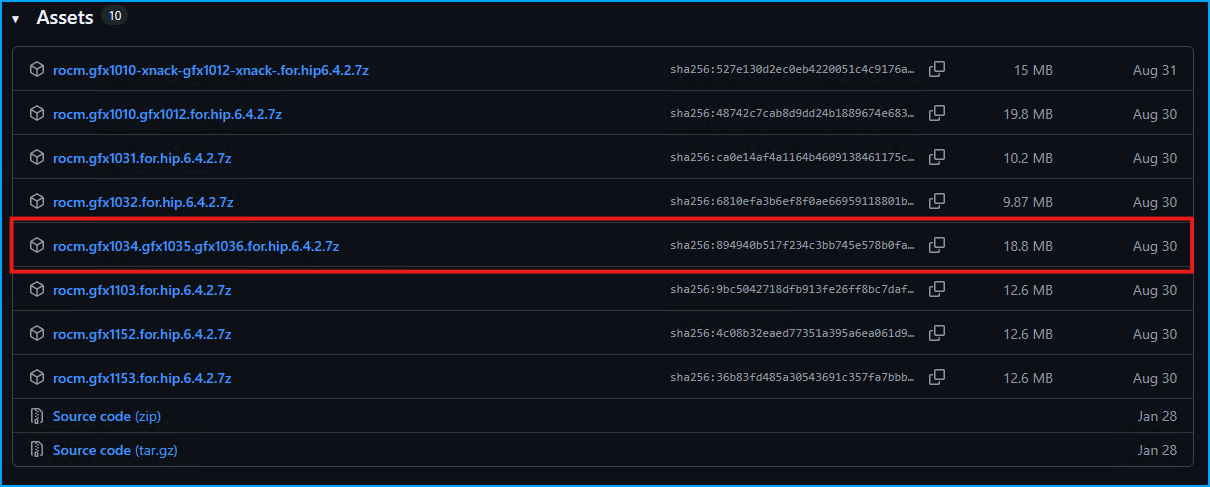
Extract the files and open the folder. There should be a library folder and rocblas.dll.

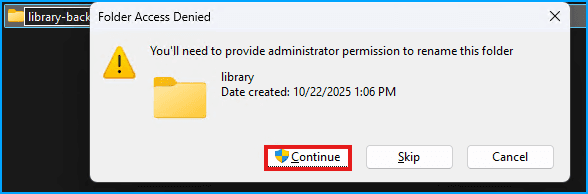
Open C:\Program Files\AMD\ROCm\6.4\bin\rocblas and rename the existing library folder to library-backup.
Click “continue” to proceed.
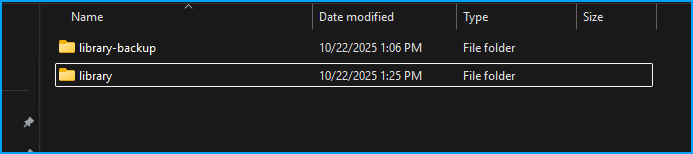
Once the folder is renamed, copy over the new library folder.
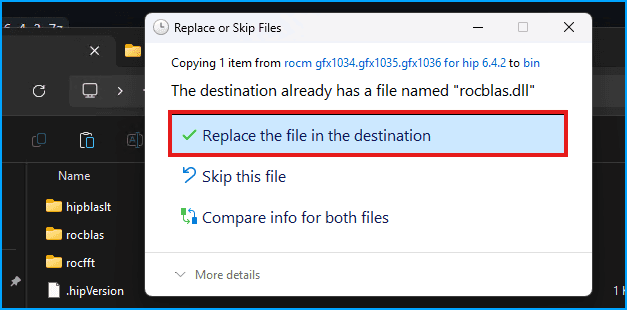
Now navigate up one folder to C:\Program Files\AMD\ROCm\6.4\bin and paste in the rocblas.dll file, when prompted, replace the existing file.
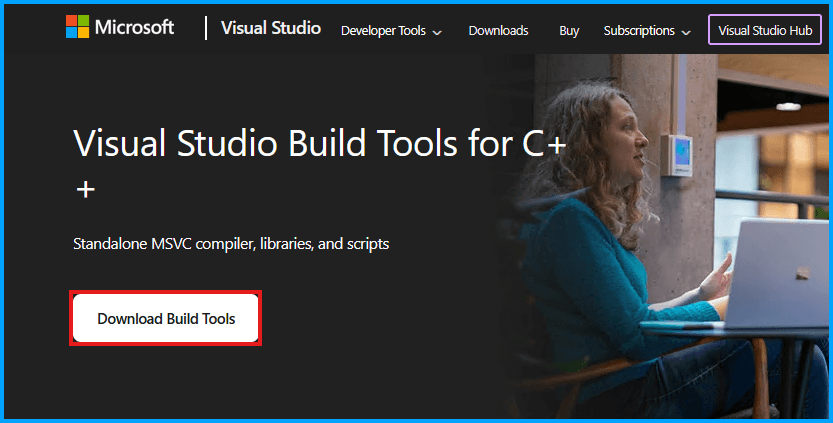
Install Build Tools
Navigate to the build tools download page and click “Download Build Tools”.
Run the installer, and allow the app to make changes to the device. Then click “Continue” to start. On the install screen, scroll down to “Desktops & Mobile”, and then select the “Desktop development with c++” (NOTE: The below image was taken after I completed the installation. The lower red box will say “Install” instead of “Close”)
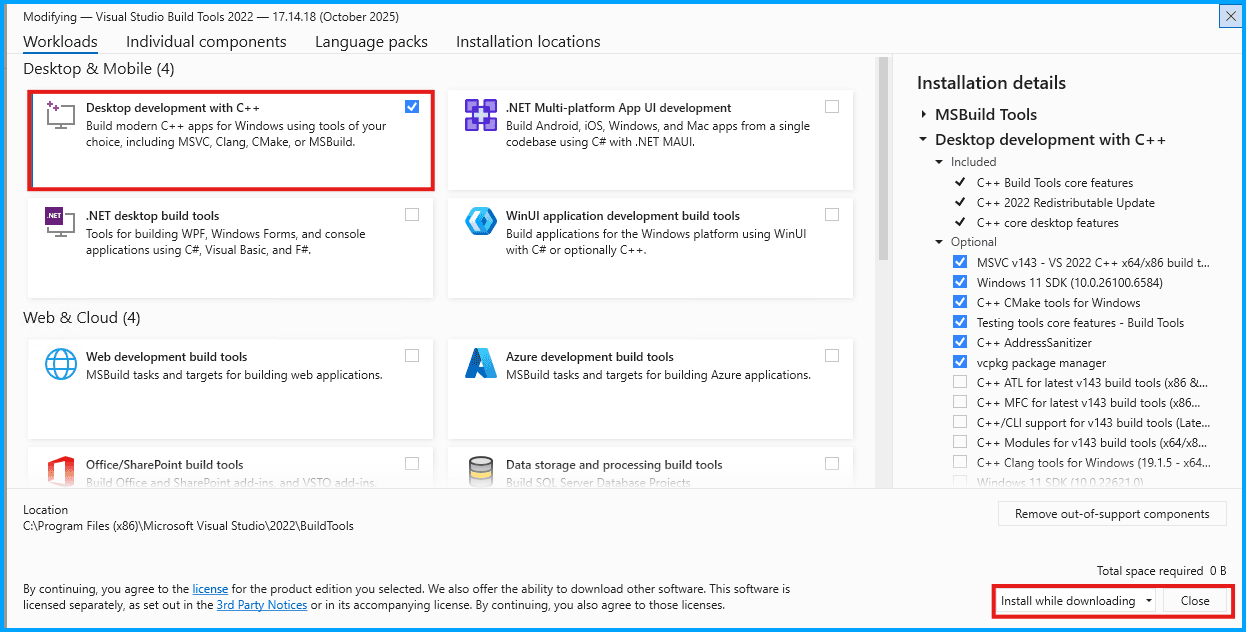
Let the install complete (can take some time).
It is highly recommended to restart Windows before proceeding.
Install CMake
Navigate to the CMake download page and find the Windows binary.

Leave the defaults and complete the installation.
Install Inno
Navigate to the Downloads Page
Install with defaults.
Prepare the Ollama Repo
The next step is to clone the Ollama repo to C:\. Open up powershell and navigate to C:\
cd C:\Then clone the repo:
git clone https://github.com/ollama/ollama.git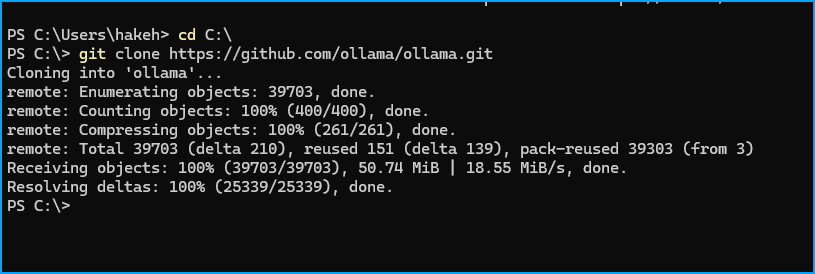
Next, update the FILTER AMDGPU_TARGETS to reflect your GPU. Open up “Notepad” and then open the CMakeLists.txt file.
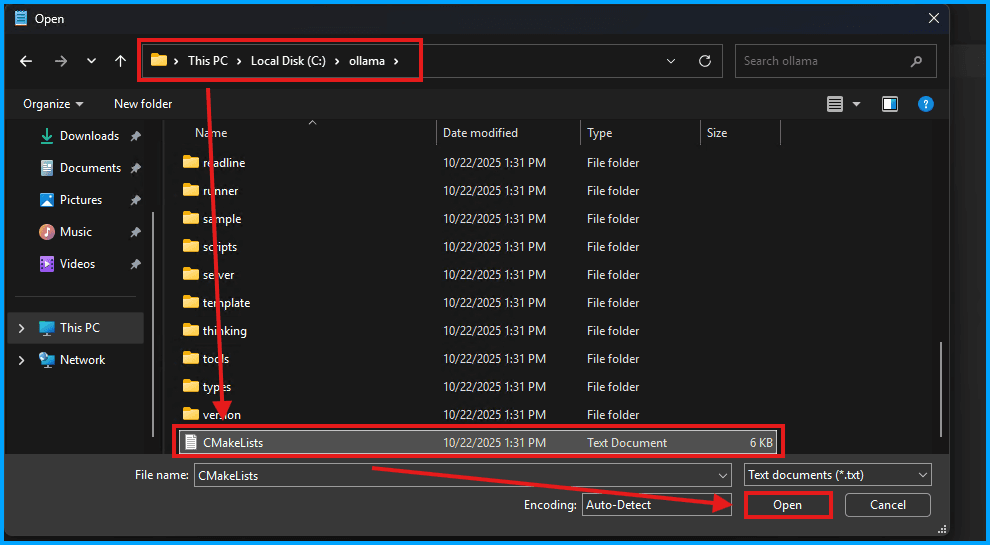
Identify the section which has FILTER AMDGPU_TARGETS INCLUDE REGEX
Make sure to update the “INCLUDE” one and not the “EXCLUDE”.

Then update it with
list(FILTER AMDGPU_TARGETS INCLUDE REGEX "^gfx(803|900(:xnack-)|902|90c(:xnack-)|1010(:xnack-)|1011|1012(:xnack-)|103[0-6]|110[0-3]|1150)$")
Then save the changes. Using Notepad, select the option for “all files”, then open the CMakePresets.json file.
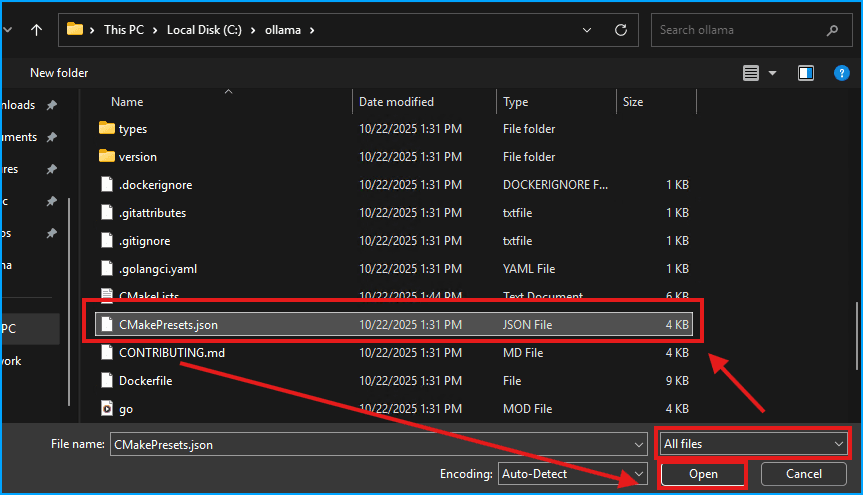
Find the AMDGPU_TARGETS section.

Update it with your specific GPU type from before (multiple can be added if you want to build for multiple GPUs).
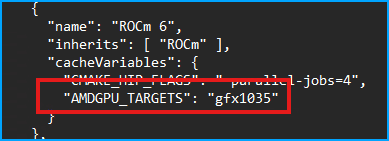
Save the JSON file and then close Notepad.
Create the Installer
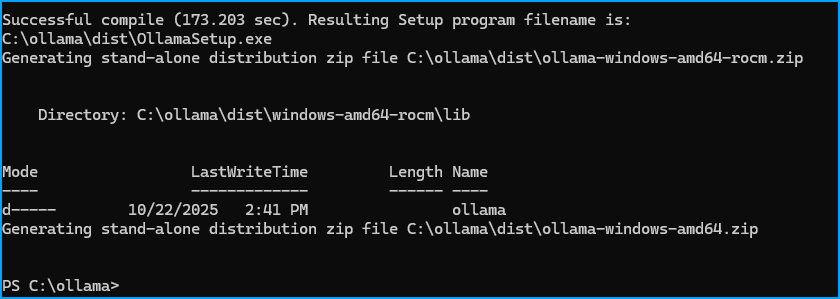
Open powershell then run the build script to create the installer.
powershell -ExecutionPolicy Bypass -File .\scripts\build_windows.ps1The result will be an installer in the /dist folder
Install Ollama
Navigate to the /dist folder:
cd C:\ollama\distfolder and then run the installer.
OllamaInstaller.exeThis will begin the installation process.
After installing and starting, there will be a persistent notice to update. If you update it will break the ROCm support.
Verity and Setup Ollama
Ollama should now be running in the background, however I recommend closing it and manually starting by opening up a powershell terminal and running
ollama serveThen download a model to test
ollama pull llama3.2:1bBy default the full model does not get offloaded to the GPU. To offload the full model you can use a ModelFile.
This sets the num_gpu to 99 ensuring the GPU is fully utilized.
@"
FROM llama3.2:1b
PARAMETER num_gpu 99
"@ | Out-File -FilePath Modelfile -Encoding utf8
Then create the Modelfile
ollama create llama3.2-gpu -f ModelfileNow to launch the model using the Modelfile run:
ollama run llama3.2-gpu