Proxmox Post-Install Script
Automate essential Proxmox VE post-installation tasks with a single community-maintained script. This eliminates manual configuration and gets your system production-ready in minutes.
Version Reference: This guide is updated for Proxmox VE 9.0-1 (Debian 13 “Trixie”) released August 5, 2025. The script also supports Proxmox VE 8.x, automatically detecting your version and using the appropriate repository format (deb822 for PVE 9, legacy format for PVE 8).
What is the Post-Install Script?
The Proxmox VE Post Install Script is a community-maintained tool that automates common post-installation tasks. Created by @tteck and now maintained by the community, it handles repository configuration, system updates, and quality-of-life improvements automatically.
New in PVE 9: The script was updated to support Debian 13 “Trixie” with the modern deb822 repository format, ensuring proper package source configuration for fresh PVE 9.0 installations.
What It Does
The script performs several essential configurations:
Repository Management
- Corrects Proxmox VE sources - Configures correct Debian package repositories using modern deb822 format (PVE 9) or legacy format (PVE 8)
- Enables non-free-firmware component - Required for microcode updates (enabled by default in PVE 9)
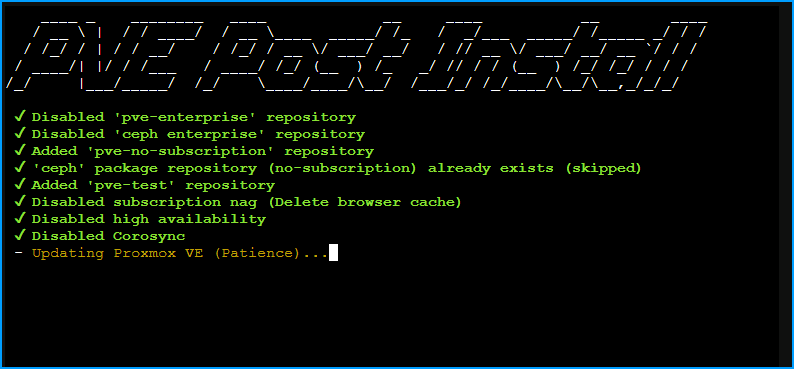
- Disables Enterprise Repository - Removes or disables the subscription-only repo
- Enables No-Subscription Repository - Adds the free community repo
- Configures Ceph repositories - Adds disabled Ceph repos for future use
- Adds Test Repository - Adds the pvetest repo (disabled by default)
System Improvements
- Disables Subscription Nag - Removes the “No valid subscription” popup in both web and mobile UI
- Optimizes for Single-Node (optional) - Disables High Availability and Corosync services to save resources
- Updates System Packages - Runs full system update and upgrade
- Offers Reboot - Prompts to reboot to apply all changes
When to Use This Script
Perfect For
- Fresh Proxmox installations - Run immediately after installing Proxmox
- Homelab setups - Non-production environments without enterprise subscriptions
- Quick deployment - When you want to get up and running fast
- Learning environments - Students and hobbyists exploring Proxmox
Consider Manual Configuration
- Enterprise environment - You have a Proxmox subscription
- Production systems - You need full control over every change
- Custom repository needs - You use specific package sources
- Learning purposes - You want to understand each step
Quick Start
Running the Script
- After Proxmox installation, log into the web interface at
https://YOUR-IP:8006 - Click on your node name in the left sidebar
- Click Shell to open the terminal
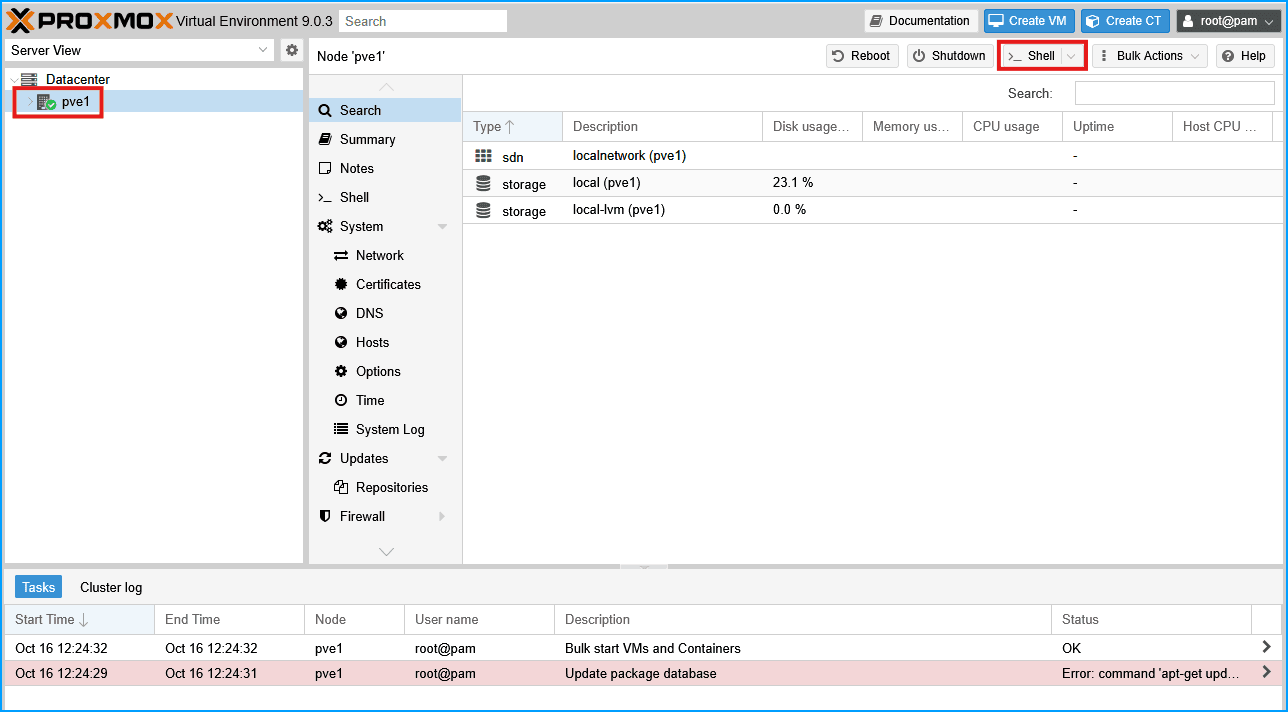
- Grab the install command from the PVE Post Install page.
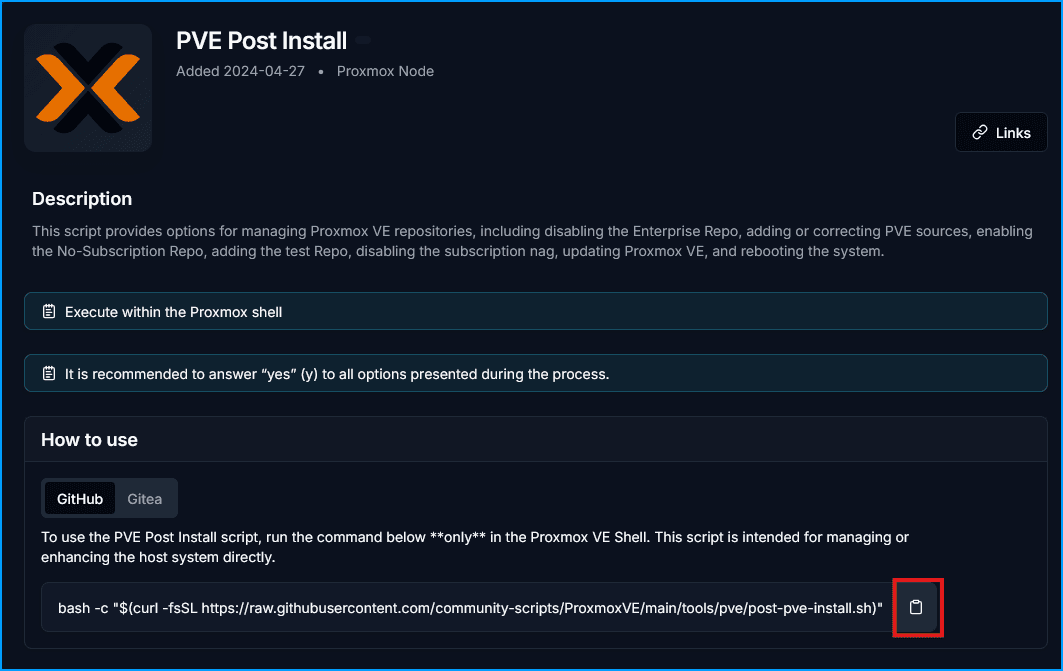
Then paste it in the shell
Interactive Prompts
The script will ask you several questions. The exact questions depend on your current configuration:
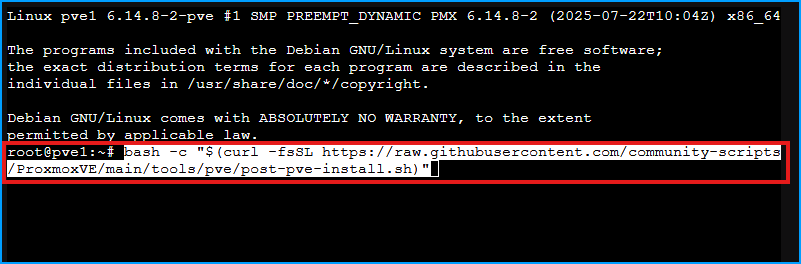
Start by typing y and hitting enter to start the Proxmox VE Post Install Script

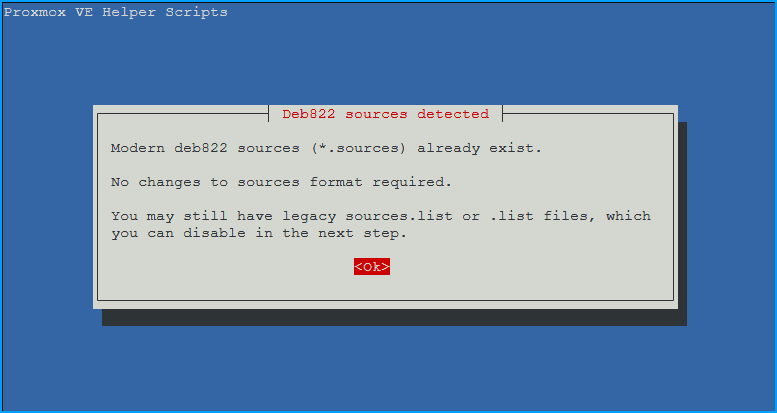
You may see a notice about using Modern deb822 sources
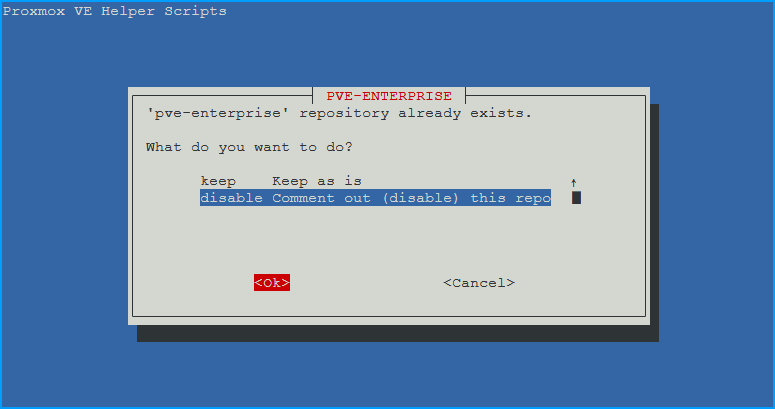
Repository Configuration
- ‘pve-enterprise’ repository already exists. What do you want to do?
- disable for homelab, enterprise repo requires a subscription
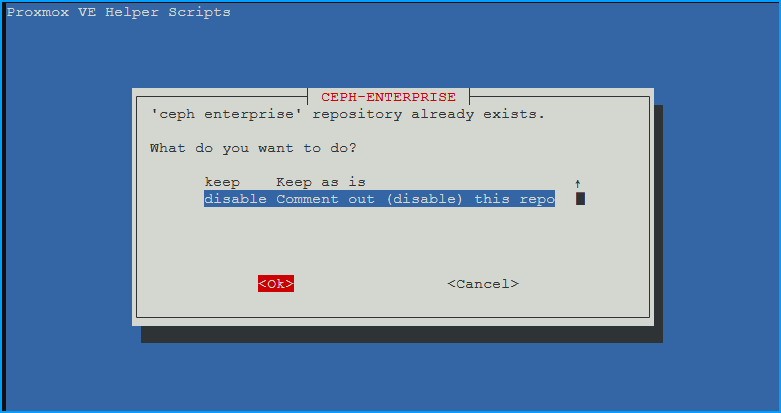
- ‘ceph enterprise’repository already exists. What do you want to do?
- disable unless you intend to use ceph (most do not)
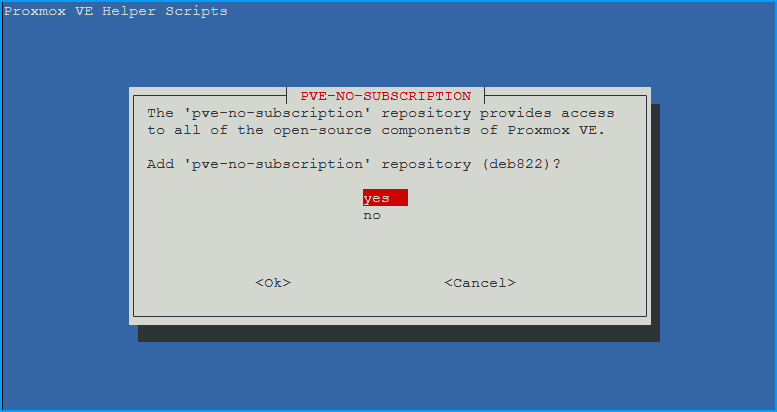
- Add ‘pve-no-subscription’ repository (deb822)?
- Choose OK. Provides access to all open-source Proxmox components
- Add (Disabled) ‘pvetest’ repository (deb822)? - Choose
yes- Adds the testing repository (disabled by default)
- You can enable it later if you want bleeding-edge features

System Configuration
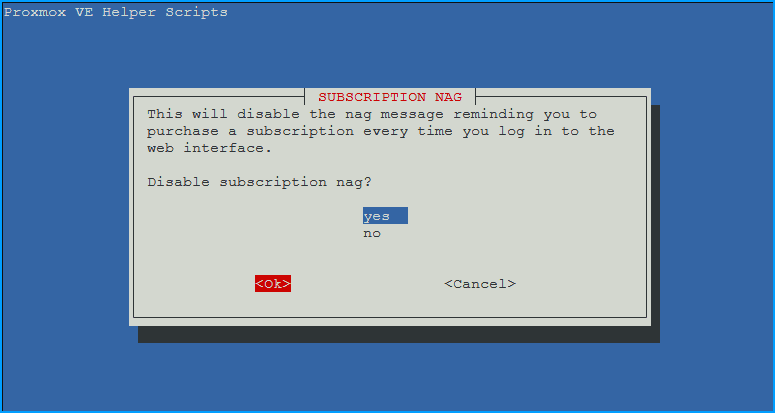
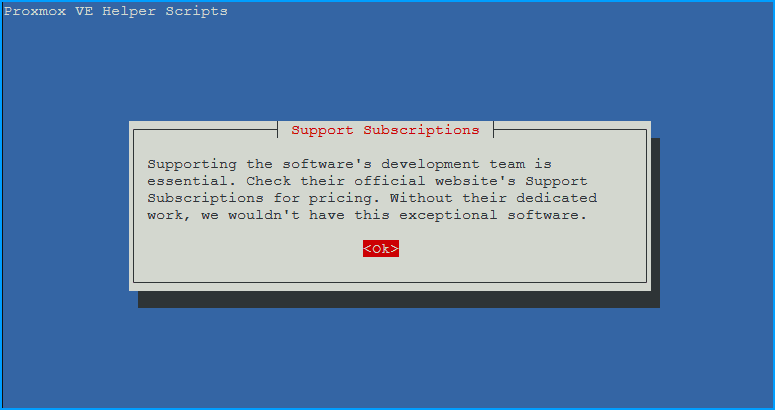
- Disable subscription nag?
- Choose
yesthenOK. Removes the “No valid subscription” popup from the web interface
- Choose
Then click OK to proceed.
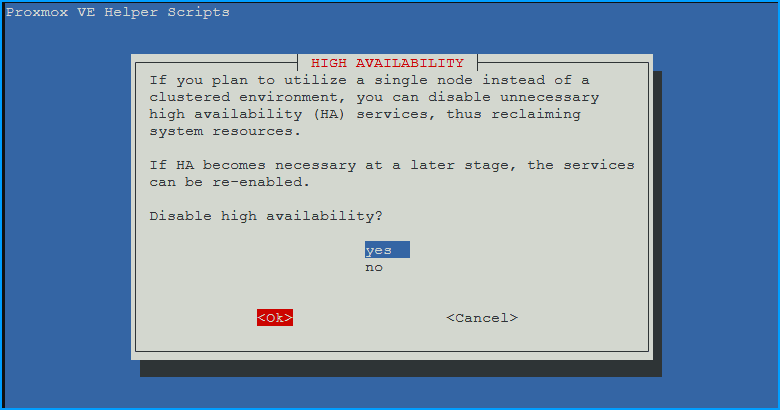
- Disable High Availability:
- Choose
yesthenOKif you will not be using high availability (most people)
- Choose
- Disable Corosync?
- Choose
yesand thenOKif not using high availability. - Corosync is the cluster communication layer
- Only needed for multi-node Proxmox clusters
- Safe to disable on standalone servers
- Choose

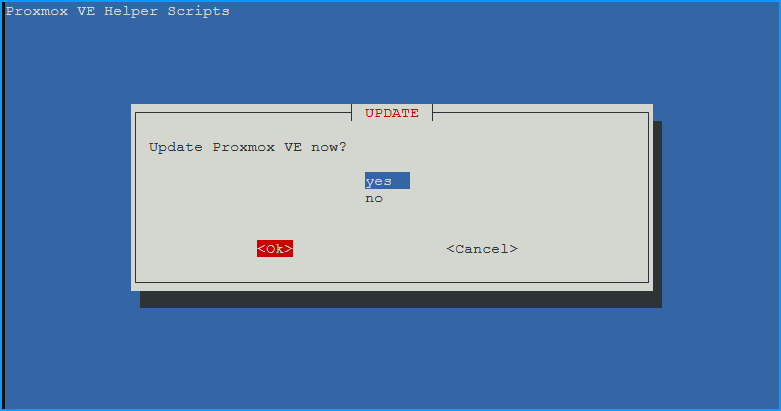
- Update Proxmox VE? -
- Choose
yesthenOK. - Runs
apt updateandapt dist-upgradeto update all packages
- Choose
This may take some time as it downloads and applies the latest updates.
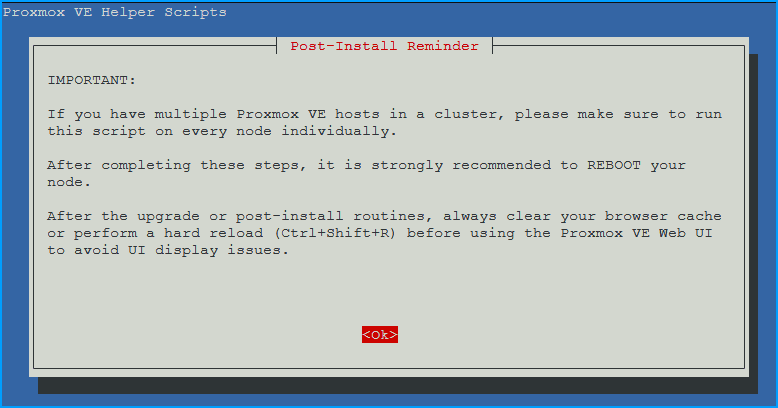
Read and accept the notice:
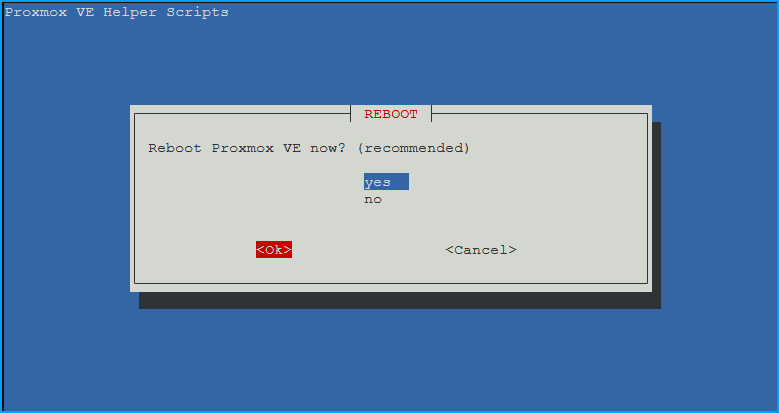
- Reboot Proxmox VE?
- Choose
yesthenOK - Recommended to apply all updates
- Choose
You can now close the shell and wait a few minutes before refreshing the Web UI with “CTRL+SHIFT+R”.
Pro Tip: For most homelab users with a single-node setup, answer
yesto all questions. This will configure your system with the community repositories and optimize it for standalone use.
Community Scripts Collection
The post-install script is just one of 400+ scripts available from the community. Other useful scripts include:
- LXC container installers - One-command deployments for Docker, Portainer, Home Assistant, and more
- VM creation scripts - Automated VM setups
- Maintenance utilities - Backup, cleanup, and monitoring tools
- Network configuration - VLAN, bridge, and bond setup helpers
Pro Tip: Bookmark community-scripts.github.io/ProxmoxVE - you’ll reference it often when deploying services!
Security & Trust
These scripts are:
- Open source - All code is visible on GitHub
- Community reviewed - Multiple contributors review changes
- MIT licensed - Free to use and modify
- Actively maintained - Regular updates and improvements
Always review scripts before running, especially when running as root. The scripts are trusted by thousands of Proxmox users, but it’s good practice to understand what runs on your system.
Next Steps
After running the post-install script:
- Get Started with Proxmox - Learn how to create VMs, containers, manage storage, and perform essential tasks
- Create your first VM - Upload an ISO and create a virtual machine
- Create your first LXC container - Deploy a lightweight Linux container
- Configure additional storage (optional) - Add extra drives, NFS shares, or network storage as needed
- Set up backups - Use Proxmox Backup Server (recommended) or configure built-in backups to NFS/local storage
- Explore the community scripts - Find pre-built containers for services you want to run
Ready to start using Proxmox? Check out the Getting Started Guide to create your first VM!