Installing Proxmox VE
A straightforward guide to installing Proxmox Virtual Environment on bare metal hardware. This guide covers the essentials to get you up and running quickly.
Version Reference: This guide is written for Proxmox VE 9.0-1 (based on Debian 13 “Trixie”). Released August 5, 2025, this version includes Linux kernel 6.14.8-2, QEMU 10.0.2, and ZFS 2.3.3.
What You’ll Need
- Hardware: 64-bit x86 CPU with virtualization support (Intel VT-x or AMD-V)
- RAM: Minimum 2GB for OS (additional RAM needed for VMs/containers)
- Storage: At least 32GB (SSD strongly recommended; for ZFS add ~1GB RAM per TB of storage)
- Network: One network interface (multiple recommended for advanced setups)
- USB Drive: 2GB+ for installation media (ISO is 1.64GB)
Pro Tip: Check that virtualization is enabled in your BIOS/UEFI before starting. Look for settings like “Intel VT-x”, “AMD-V”, or “Virtualization Technology”.
Step 1: Download Proxmox VE
- Visit the Proxmox Download Page
- Download the Proxmox VE 9.0-1 ISO Installer (1.64GB)
- Verify the SHA256 checksum
Pro Tip: Torrent download is also available for faster downloads with resume capability.
Step 2: Create Installation Media
On Windows
Use Rufus or balenaEtcher :
- Select your USB drive
- Choose the Proxmox ISO
- Important: Use DD mode (not ISO mode)
- Click Start
On Linux
# Replace /dev/sdX with your USB device (check with lsblk)
sudo dd bs=1M conv=fdatasync if=proxmox-ve_*.iso of=/dev/sdX status=progress
Pro Tip: Double-check your device path with
lsblkordiskutil list- writing to the wrong device will destroy your data!
Step 3: Boot from Installation Media
- Insert the USB drive into your target machine
- Boot into BIOS/UEFI (usually F2, F10, F12, or DEL during startup)
- Set USB as the first boot device or use boot menu
- Save and restart
Step 4: Install Proxmox VE
Choose Installation Type
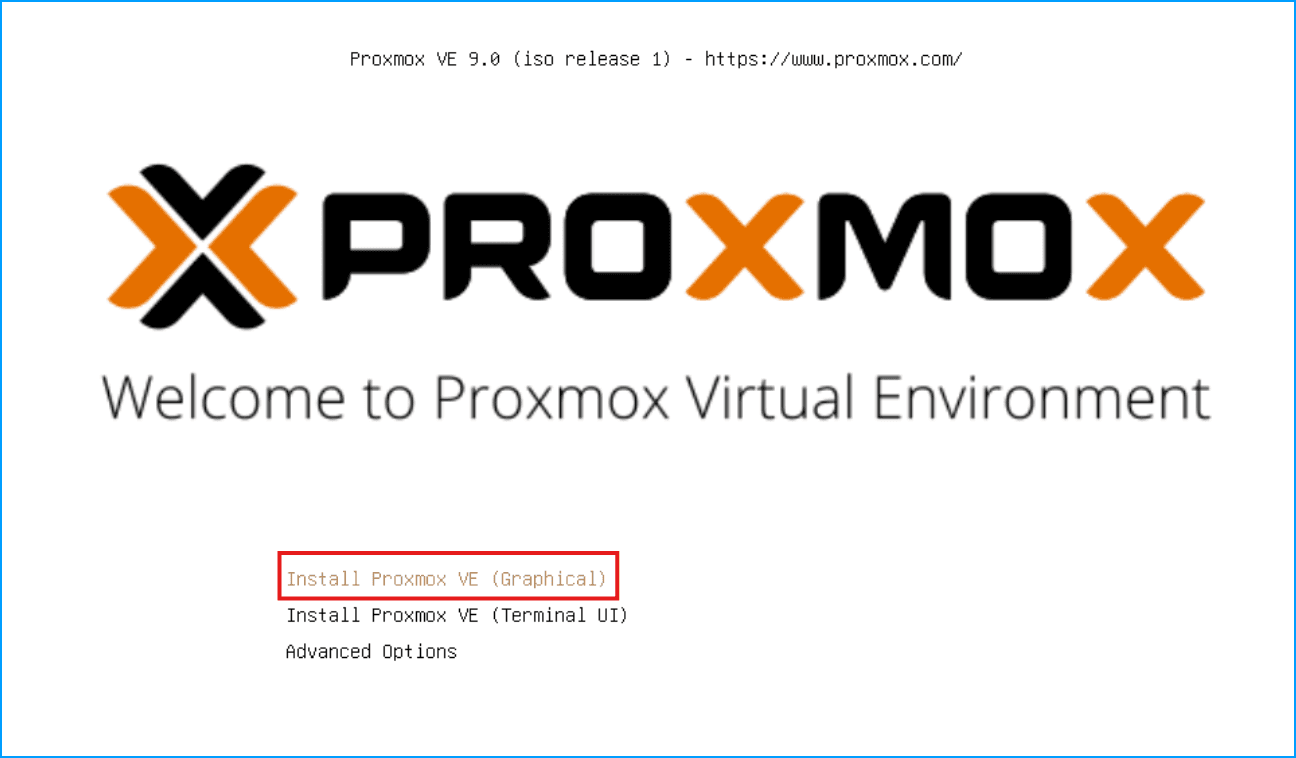
When the installer boots, you’ll see several options. Select:
- Install Proxmox VE (Graphical) - Recommended for most users
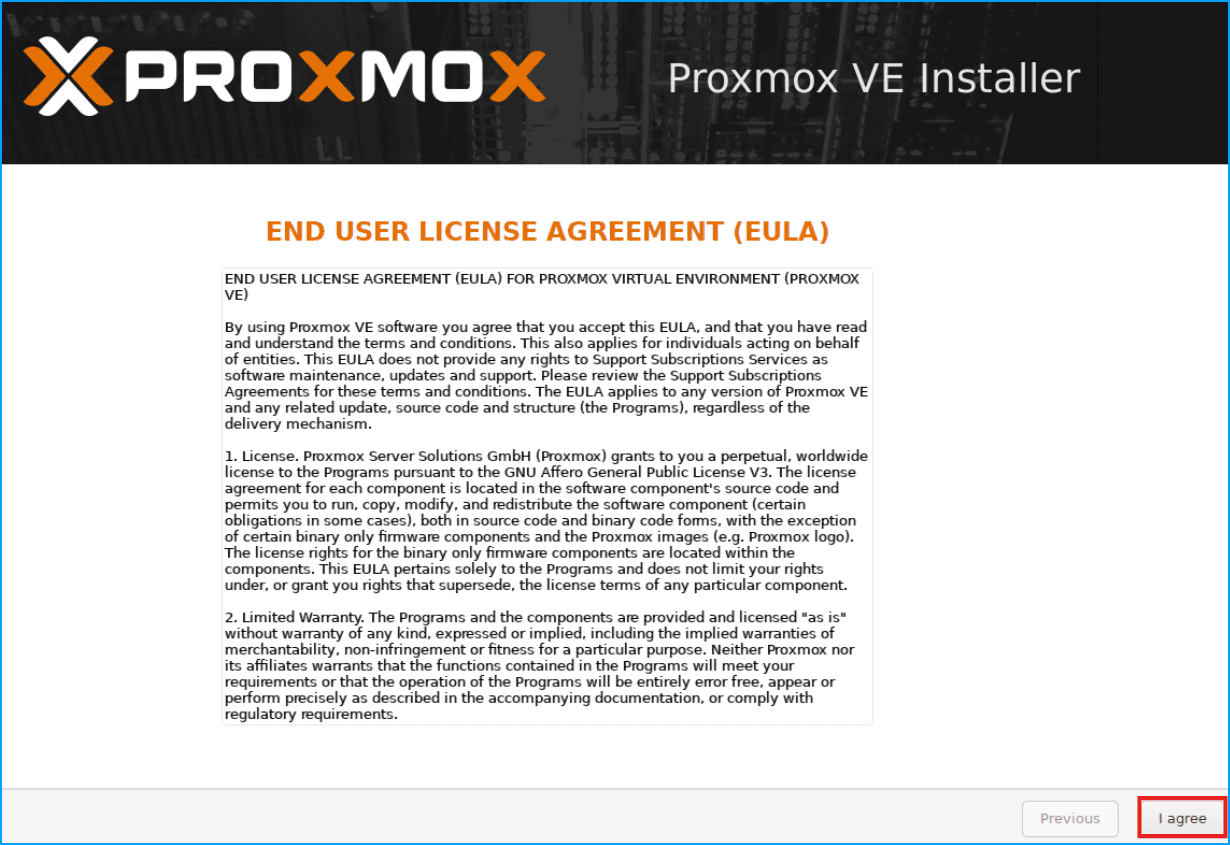
Once loaded, accept the EULA to continue.
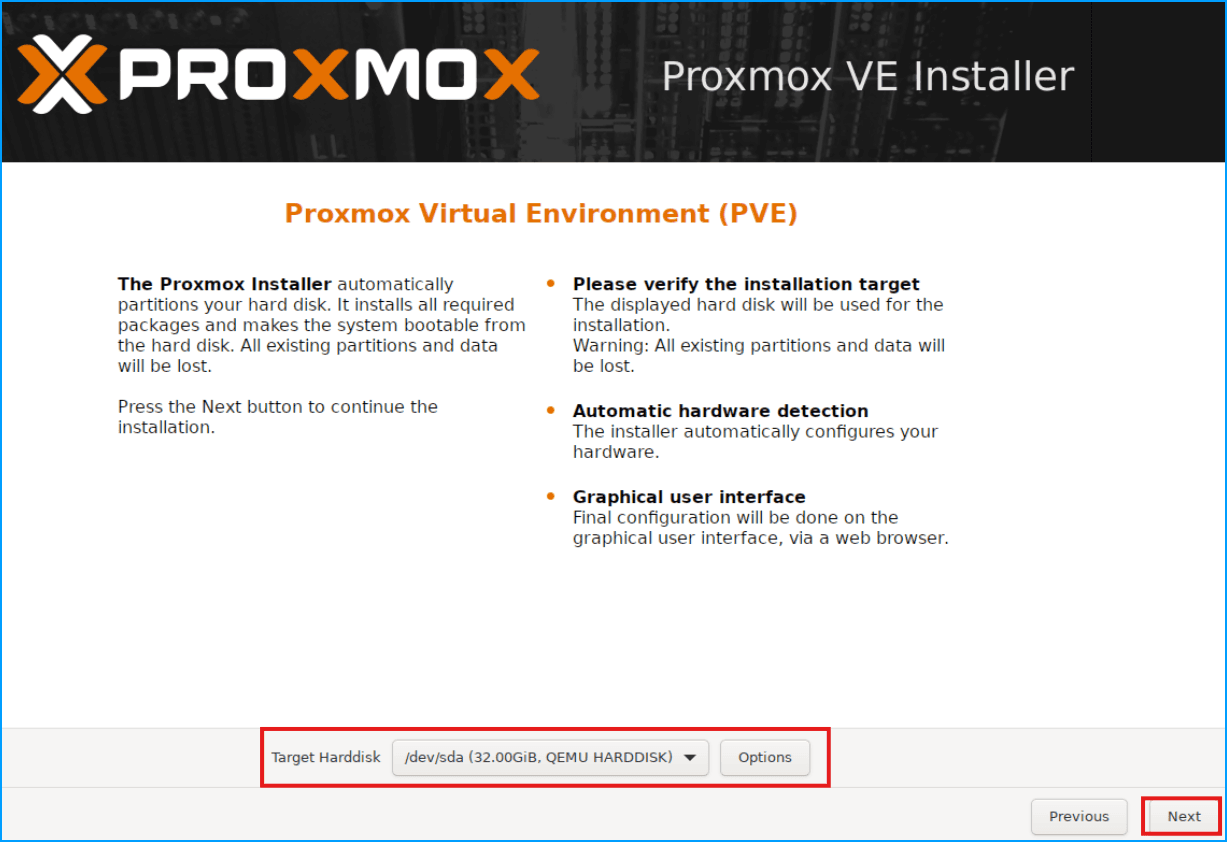
Select Target Disk
If you’re new to Proxmox, start with ext4 (default). You can always add additional storage with ZFS later.
Warning: All data on the selected disk will be permanently erased!
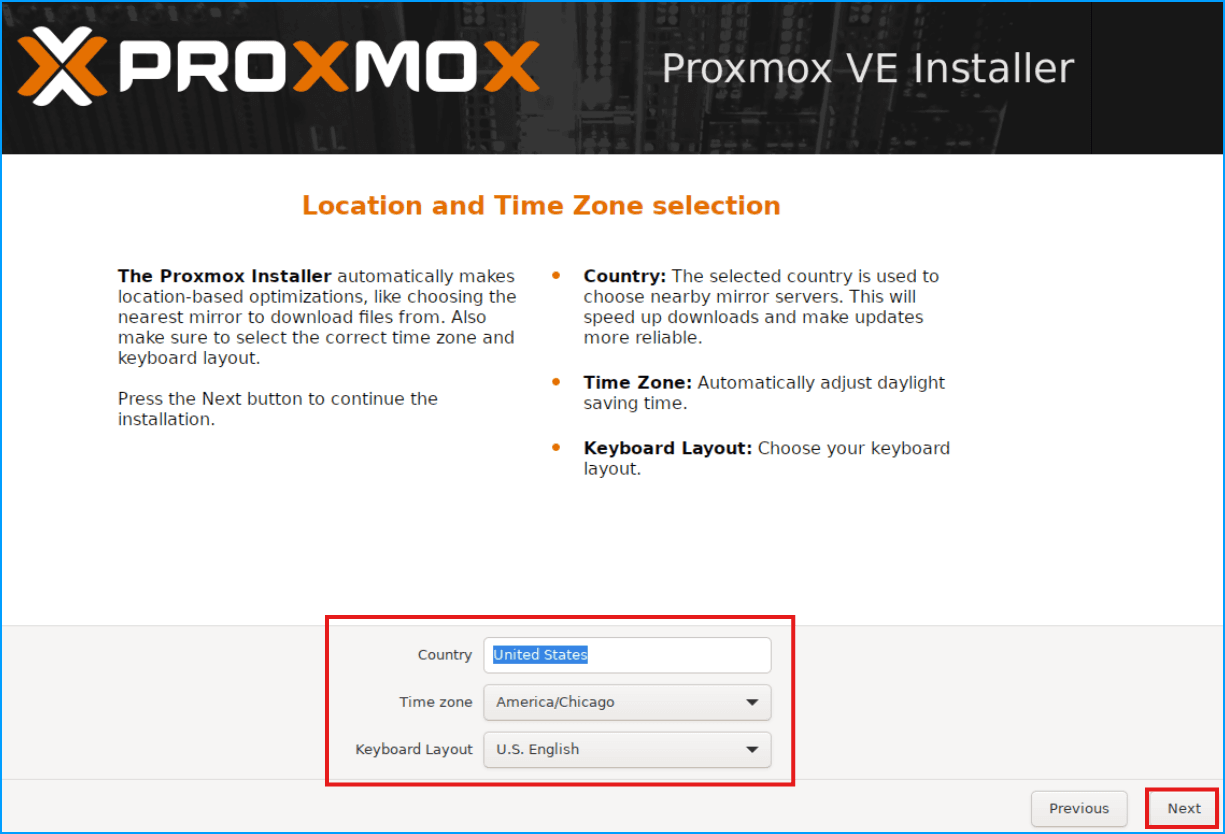
Configure Location & Time
- Select your Country
- Choose your Time zone
- Select your Keyboard Layout
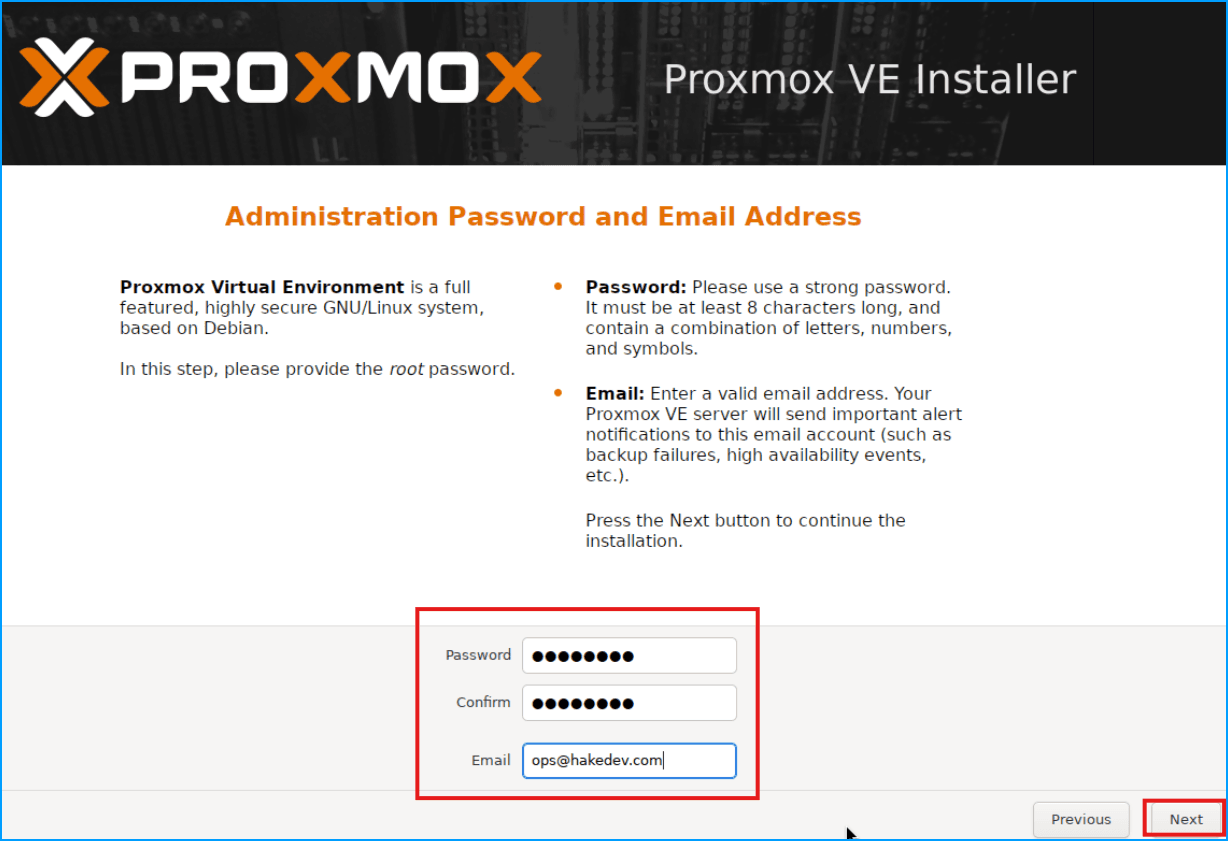
Set Administrator Password
- Enter a strong password for the root account (minimum 8 characters, 12+ recommended)
- Provide an email address for system notifications
Pro Tip: This email receives important system alerts. Use a real address you check regularly, or set up email forwarding later.
Network Configuration
For many people this is the hardest to know what to select.
- Management Interface: Select your primary network interface. Typically it is autoselected, and there should be a green dot if active which is a good sign everything is working.
- Hostname: This does not matter too much. Give your server a meaningful name (e.g.,
pve1.internal) - IP Address: Enter the chosen static IP for the server.
- Gateway: Your router’s IP address (usually
192.168.1.1) - DNS Server: Use your router’s IP or public DNS (e.g.,
8.8.8.8)
Pro Tip: Use a static IP for your Proxmox host. Document this IP - you’ll need it to access the web interface!

Review & Install
- Review all settings
- Click Install
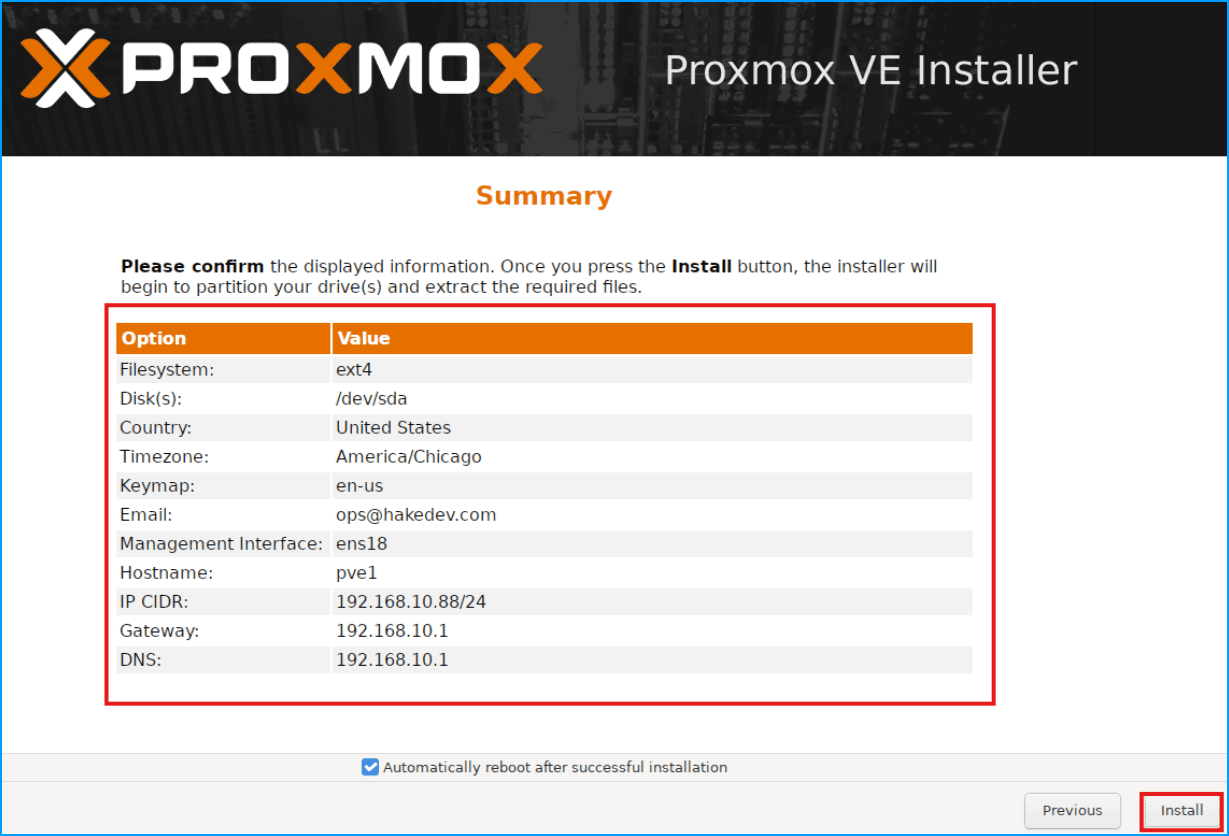
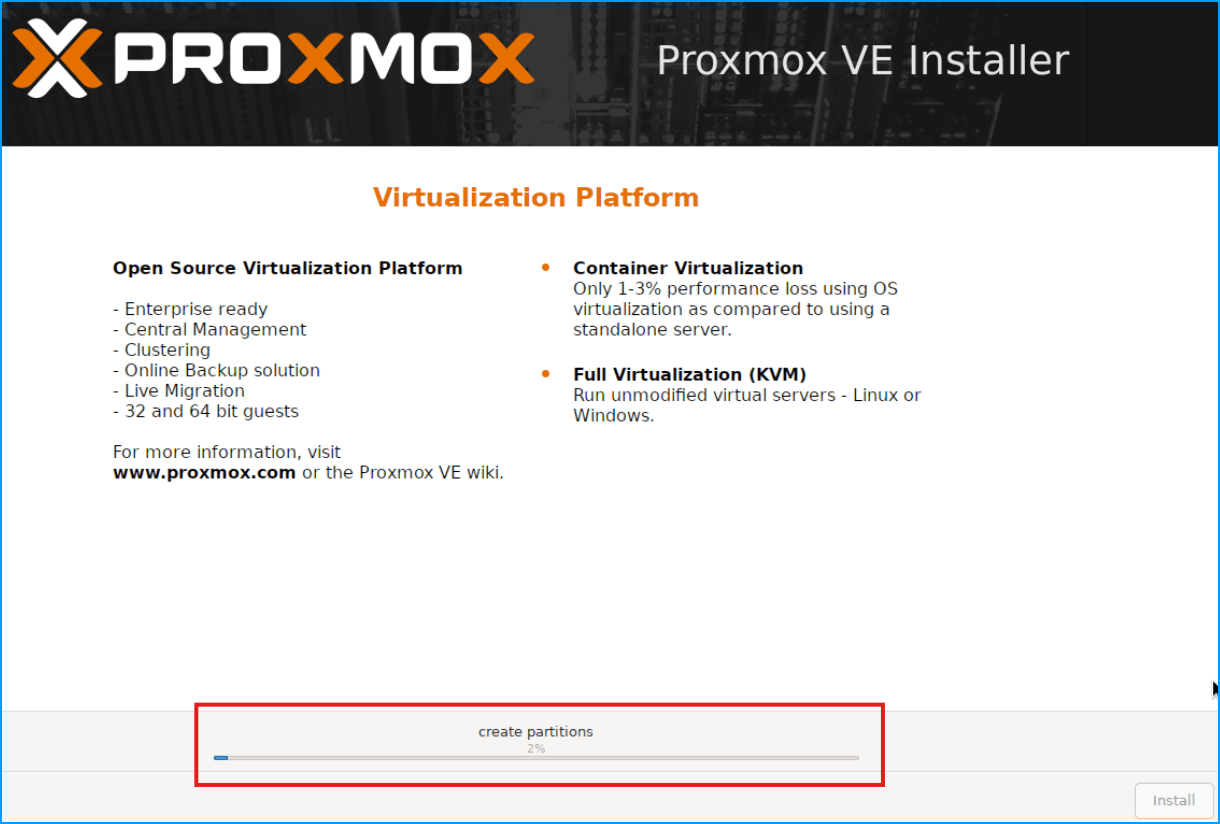
- Wait for installation (usually 5-10 minutes)
- Remove USB drive when prompted
- Reboot
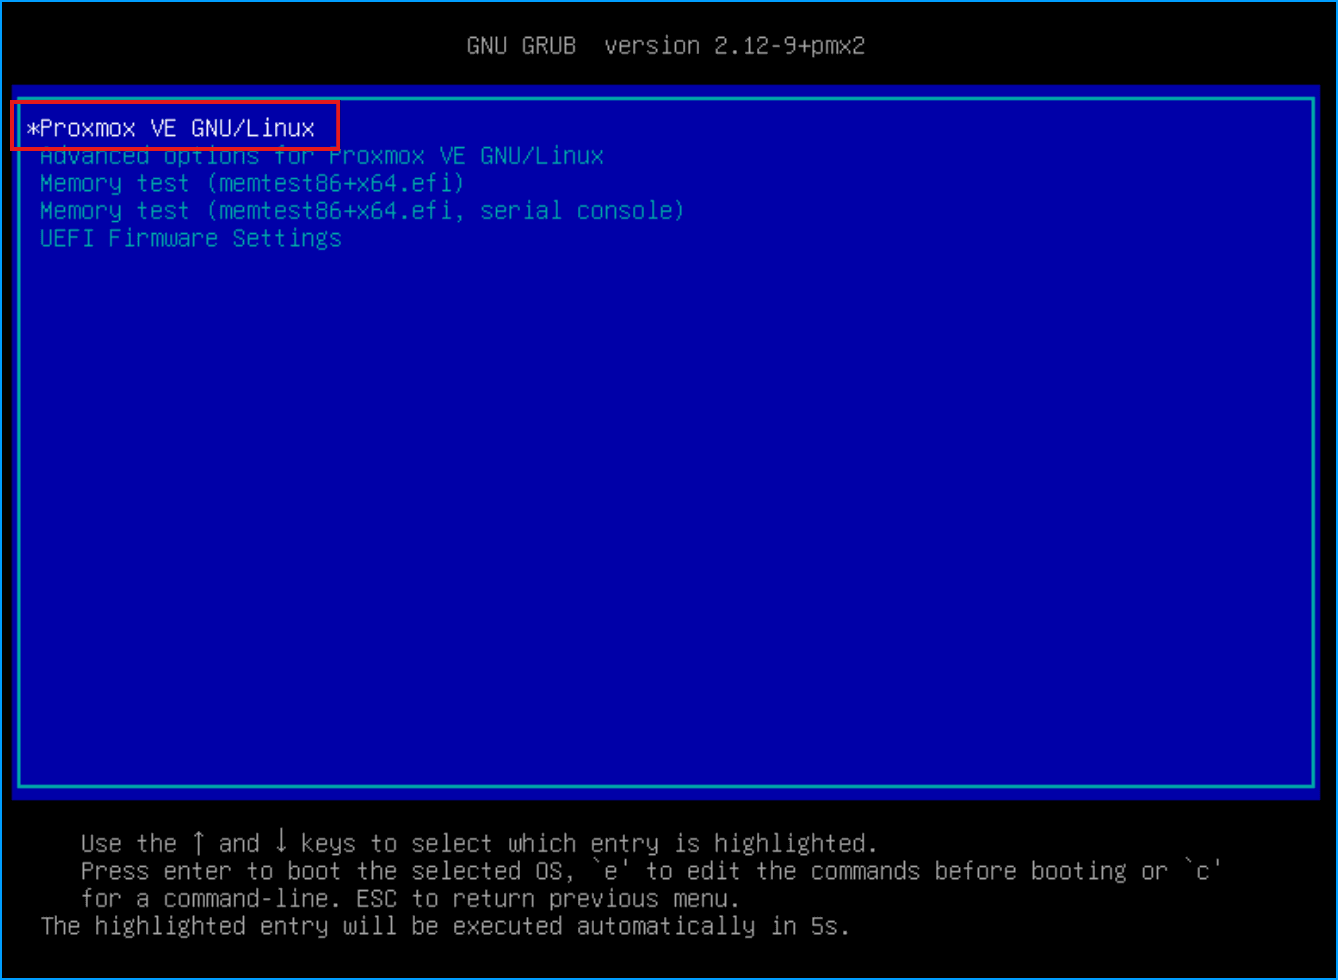
When the host boots up you should see the boot menu. It should have the correct option selected and will proceed automatically
Once the system boots up you will see a login screen with the IP listed.
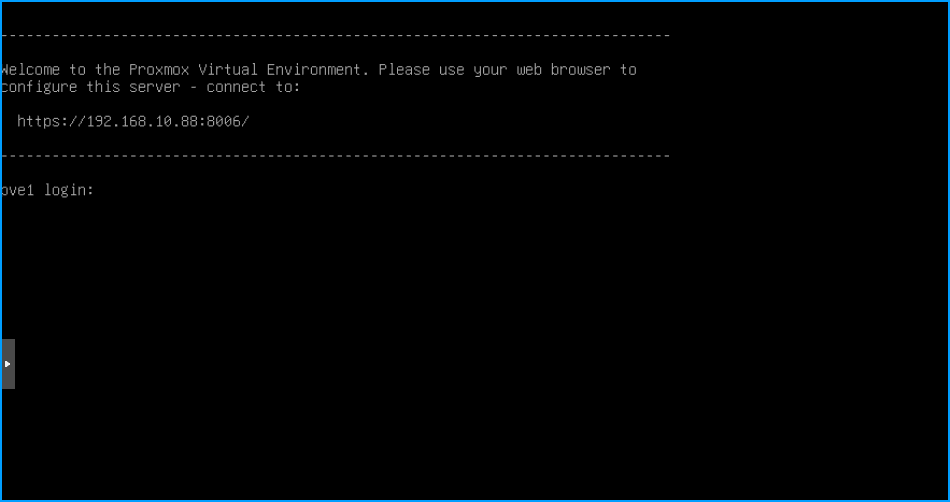
You do not need to log in via the terminal. All future actions should take place through the Proxmox Web user interface.
Step 5: Access Proxmox Web Interface
- On another computer on the same network, open a web browser
- Navigate to:
https://YOUR-PROXMOX-IP:8006- Example:
https://192.168.1.100:8006
- Example:
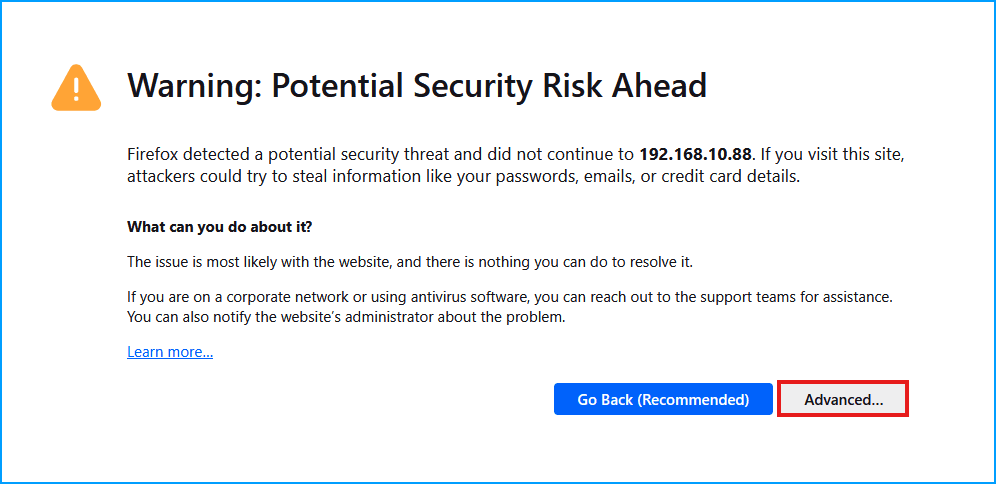
- Accept the self-signed certificate warning (this is normal)
- Login with:
- Username:
root - Realm:
Linux PAM standard authentication - Password: The password you set during installation
- Username:
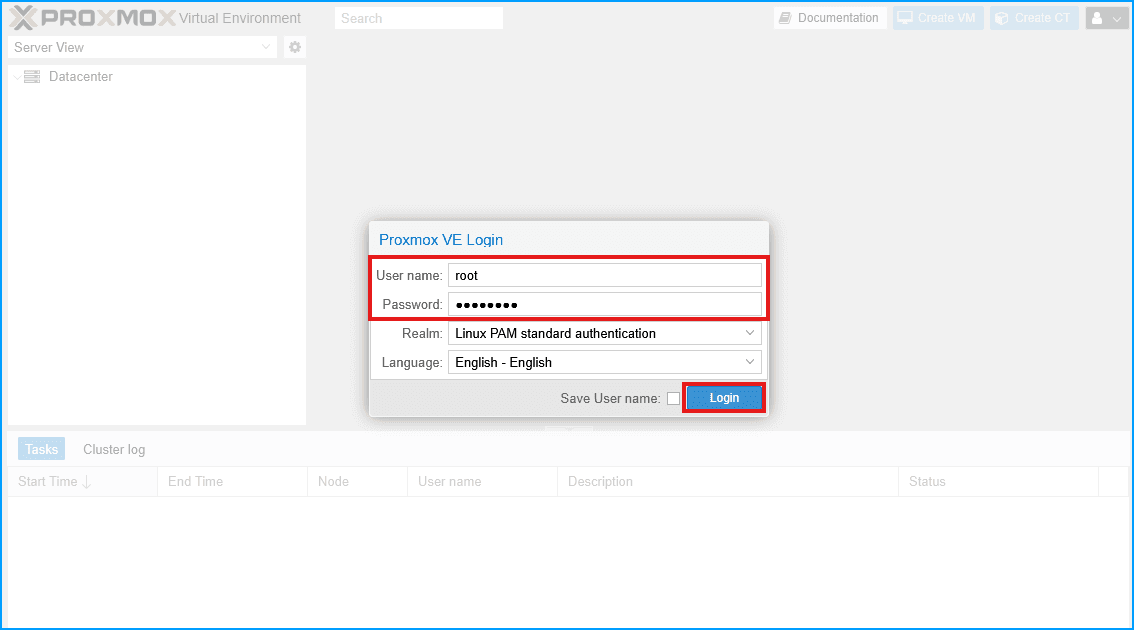
Pro Tip: Bookmark this URL! You’ll access it frequently.
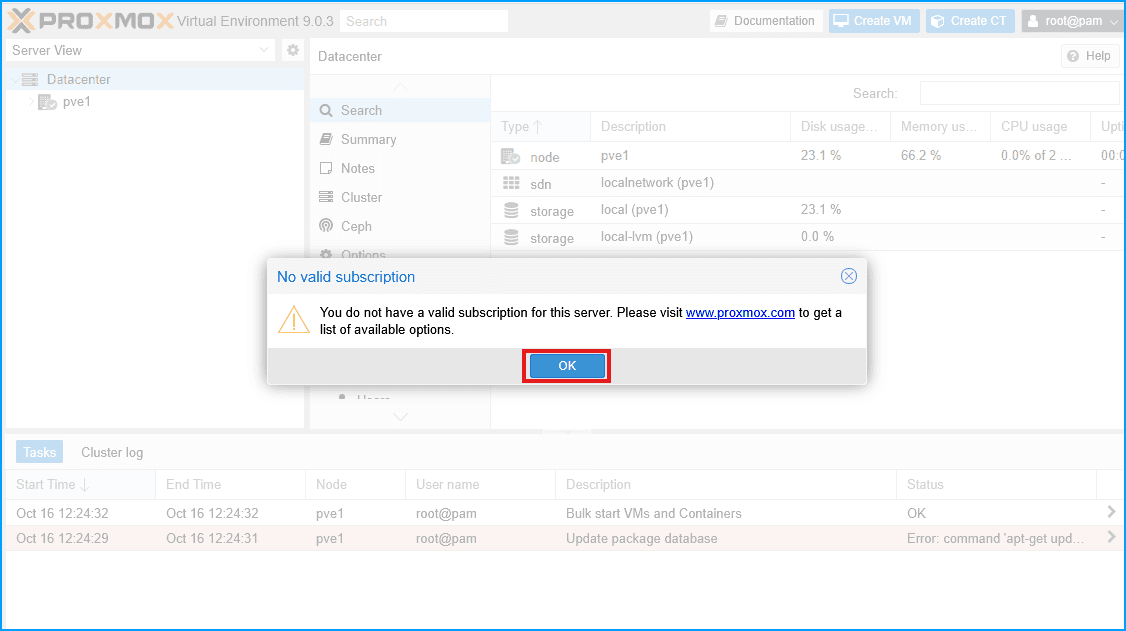
- Click “OK” when the subscription prompt appears. Do not worry, Proxmox is free!
Post-Installation: Essential Tasks
Now that Proxmox is installed, here’s what to do next:
- Run the Post-Install Script - Automate repository configuration, updates, and subscription nag removal with a single command (HIGHLY RECOMMENDED)
- Getting Started with Proxmox - Get familiar with the user interface
What’s New in Proxmox VE 9.0
Major features introduced in version 9.0:
- LVM Snapshot Support: Snapshots now available for VMs on thick-provisioned LVM storage
- SDN Fabrics: Simplified configuration for complex routed networks with automatic failover
- ZFS RAIDZ Expansion: Add devices to existing RAIDZ pools with minimal downtime
- Network Interface Pinning: Prevent interface name changes after upgrades
- Modernized Mobile Interface: Rebuilt using Rust-based Yew framework
Official Documentation
This guide covers the basics to get you started quickly. For advanced topics, consult the official documentation:
- Proxmox VE Installation Guide - Comprehensive installation documentation
- Proxmox VE Administration Guide - Complete system administration reference
- Proxmox VE Wiki - Community-maintained documentation and tutorials
- What’s New in Proxmox VE 9.0 - Official overview of new features